Last updated November 18, 2026
Home Addition Contractor Maintenance Schedule: What to Do and When
Most addition warranties are voided not by contractor defects but by homeowner inaction. Specifically, by skipping the seasonal maintenance tasks the warranty document quietly requires in its back pages. In our experience, the first year after a home addition is completed is the most important maintenance window you will ever have on that structure. Caulk shrinks, grout cracks, and HVAC systems fall out of balance in that first cycle of seasons, and every one of those issues is cheapest to fix in the first 30 days. This guide gives Winchester homeowners a month-by-month checklist built around the specific stresses a Nevada desert climate puts on new construction: 110°F surface temperatures, single-digit winter nights, and dry air that pulls moisture out of everything.
Quick Answer
Perform a walkthrough inspection at 30 days, 90 days, 6 months, and 12 months after your addition is completed, checking caulk joints, grout lines, roofline tie-ins, drainage, and HVAC balance at each interval. In Winchester’s climate, most sealant failures show up between months 4 and 6, when the first hot season expands materials and the first cold snap contracts them. The most expensive mistake is waiting until you see a stain on the ceiling; by then the moisture has usually been traveling for weeks.
Table of Contents
- Why the First Year After Your Addition Matters Most
- The 30-Day and 90-Day Inspections
- Caulk and Sealant Checkpoints for Desert Heat
- How to Tell If Your HVAC Was Rebalanced Correctly
- Roofline Tie-In: Catching a Leak Before It Happens
- What Your 365-Day Warranty Should and Shouldn’t Cover
- The 6-Month and 12-Month Inspections
- Common Mistakes to Avoid
Why the First Year After Your Addition Matters Most
A new addition is a living structure settling into a climate it hasn’t met yet. Every material in that build expands and contracts with temperature and humidity, and the first full year is when the joints between those materials find their limits. In Winchester, we watch it happen on a predictable schedule: spring brings warm days and cold nights, summer bakes south- and west-facing walls at surface temperatures that push past 110°F, and winter nights drop into the teens or below.
Those swings do more damage to fresh construction than the ten years that follow. Caulk that looked perfectly sealed on completion day will often shrink a quarter inch within a few months. Grout in tile joints develops hairline cracks as the slab or subfloor moves. If you’re planning a room addition in Winchester, it helps to understand this cycle before the build starts, because the materials your contractor chooses are what determine how often you’ll be maintaining them.
The warranty document (or the one you should demand) also ties your coverage to reasonable maintenance. A written promise like our 365-Day Done Right Promise covers defects in workmanship for one full calendar year, but it assumes you’re inspecting and maintaining the work. There’s a reason the year of coverage exists: it gives both sides a full cycle of seasons to see what the structure actually does.
Trades sometimes call the first year the “settling period.” That’s a slightly romantic term for a long list of things that need watching. The rest of this guide walks you through exactly what to watch, when, and how to record it.
The 30-Day and 90-Day Inspections
Here is the schedule most homeowners never get told about. Set four calendar reminders the day your addition is signed off, and walk the entire addition with a notebook and a phone camera at each one.
At 30 days
- Walk every interior caulk joint around windows, doors, baseboards, and the seam between the addition and the original house. Photograph any gap wider than a credit card edge.
- Check grout in any new tile floor or shower; hairline cracks are normal, crumbling or missing grout is not.
- Look at door alignment. Doors that swing freely at handover and then stick at 30 days usually indicate a framing or humidity issue worth documenting.
- Review the HVAC balance by comparing room temperatures with a simple thermometer at mid-afternoon.
- Walk the exterior perimeter. Note sunken soil, low spots in new grading, and any water staining under downspouts.
At 90 days
The 90-day walk is a repeat of the 30-day with extra attention to two things. First, look at exterior caulk, especially on south- and west-facing walls; those take the most heat here in Winchester. Second, photograph the roofline tie-in where the addition meets the original roof. A fresh photo taken at 90 days gives you a baseline you can compare against at month 6 when things start to shift.
Keep all of it in one folder, dated. If you need to submit a claim, dated photos are the single most powerful piece of documentation you can hold. Most claims that fail do so because the homeowner noticed an issue and told nobody, and can’t prove when it started.
Caulk and Sealant Checkpoints for Desert Heat
In our experience, sealant failure is the leading cause of water intrusion into a Nevada addition, and it almost always starts in the same three places. Thermal expansion creates gaps first at:
- Exterior joints on south- and west-facing walls. Those walls see the hottest afternoon sun and the largest daily temperature swing.
- Seams between the addition and the original structure. Two different structures expand at different rates; that seam is always the first to open.
- Window and door perimeters, especially the upper hinge side of exterior doors. Doors take daily use plus sun, and the caulk line above them splits first.
The product matters as much as the schedule. Ordinary painter’s caulk fails fast in Winchester’s climate. What actually holds up to 110°F surface temperatures is a 100% silicone sealant for exterior joint lines (especially around windows and metal), and a high-quality paintable polyurethane where a joint must be painted. For interior gaps around door and window trim, a paintable acrylic latex works fine because it’s indoors. Nowhere should you rely on standard contractor-grade latex on an exterior joint facing the desert afternoon sun.
Check every exterior caulk line at 30, 90, 180, and 365 days. Test with a fingernail: if the caulk feels brittle, lifts at the edge, or has visible cracks, it needs replacing. Do not “fix” a failing joint by adding a second layer over the top; it traps moisture and fails within weeks.
How to Tell If Your HVAC Was Rebalanced Correctly
A proper HVAC balance isn’t a gut feeling. It’s measurable in two places: room temperature consistency across the addition and the original house, and static pressure at the air handler. “Properly balanced” means every conditioned room in the addition holds within about 2°F of the thermostat setpoint on a typical summer day, and that the system’s static pressure sits within the manufacturer’s range for the total duct length it now serves.
Here’s a simple homeowner test to run at 30, 90, and 180 days:
- Close every exterior door and window in both the addition and the original home.
- Set the thermostat to 75°F at the main return.
- Wait two hours in the afternoon (when outdoor temps peak).
- Read the temperature in each room of the addition with a digital thermometer, plus the main living room of the original house.
- Any room more than 2 – 3°F off setpoint, or noticeably colder or warmer than the rest, tells you the balance has drifted or was never right.
If the addition has its own system (a mini-split is common on detached ADUs), you can still check balance: run the system on its own for two hours and confirm it reaches setpoint. If it can’t reach setpoint by late afternoon in mid-summer, its capacity or charge needs a look.
One more detail specific to our region: the addition’s ductwork may have introduced extra total length to the system, which lowers delivered airflow unless the original system was upsized or a manual J/D duct calculation was redone. If the contractor added square footage without recalculating, you’ll feel it in the original rooms first. They’ll run hotter than they did before the addition went in.
Roofline Tie-In: Catching a Leak Before It Happens
Most roofline leaks we inspect were visible as a warning sign for months before water appeared inside. The tie-in where flat or low-slope roof planes meet the pitched roof of the original house is the most vulnerable junction in a Nevada addition, especially on the ranch-style homes common throughout Winchester, where additions are frequently built with a flatter roofline than the original.
Look for these signs at every inspection:
- Lifted, cracked, or chalky caulk along the roof-to-wall transition. In the Winchester sun, roofing caulk can look fine from the ground and fail up close; use binoculars or get on a ladder for a proper look. Never climb onto a steep roof yourself; that’s a job for a professional.
- Rusty nail heads or lifted shingles near the junction. Rust means moisture is already present; lifted shingles mean wind and thermal movement are working the joint.
- Water stains, discoloration, or bubbling paint on the ceiling below the tie-in. This is a late warning. It means water is already traveling.
- Dark streaks on fascia or soffit panels. These are often the first visible evidence, especially after a monsoon-season downpour.
- Debris accumulation in the valley where the two rooflines meet. Dry leaves and grit trap moisture against flashing.
When you find a warning sign, document it with a photo and call a professional. Roof work at height is not a homeowner job, and improper repair of a tie-in can void the warranty on both the addition’s roofing and your original roof. If your build includes a detached ADU in Winchester, the same tie-in logic applies where the ADU’s roof meets its wall assemblies, even though it doesn’t connect to your main roof; there are more joints on those builds than most homeowners realize.
What Your 365-Day Warranty Should and Shouldn’t Cover
A good written warranty covers defects in workmanship for one full year from completion and includes a free second visit if a repair fails. It does not cover homeowner neglect, weather damage beyond normal wear, or issues caused by homeowner-supplied materials. That’s normal and fair. The problem is when the boundary line is written vaguely enough that a legitimate claim can be denied on a technicality.
Before you sign off on any build, read the warranty document for these elements:
- What’s covered: defects in workmanship across all trades, including framing, drywall, plumbing, electrical, tile, roofing, and exterior sealant. Ask for a line-item list of what the warranty includes so it can’t be argued.
- What’s excluded: normal seasonal movement, cosmetic cracking in drywall or paint, homeowner modifications, and damage from unmaintained grading or drainage.
- Response time: how fast the contractor will address a warranty claim once submitted. Get it in writing.
- Named guarantee: a written, named promise applies at every project. Not a verbal “we’ll take care of it.”
- Claim submission process: exactly who to call, in what form, and what documentation is required.
Submit a claim correctly and it almost always gets honored. Submit one incorrectly and it gets denied on the paperwork, not the merit. The best practice we recommend to every Winchester homeowner:
- Document the issue with dated photos, taken after a walkaround, not mid-panic.
- Write one short paragraph describing what you noticed, when, and where.
- Submit through the exact channel the warranty specifies, not by text message to a subcontractor.
- Keep the record. Note the date submitted and the name of anyone you spoke to.
- Follow up after five business days if you have no response. A written warranty means something should happen on a schedule.
Our 365-Day Done Right Promise is deliberate about this: if the work isn’t right within a full year, we make it right, and the free second visit covers each repair attempt if the first fix doesn’t take. That’s why the written price is given before work starts and the guarantee is stamped on every project. Any contractor worth using will hand you a written warranty in writing, discussed at contract signing, with the terms matching exactly what they said verbally.
The 6-Month and 12-Month Inspections
By month 6 you’ve completed a full hot season. By month 12 you’ve seen the entire year: the summer bake, the monsoon-season rain, and the first cold snap. These two inspections are the most thorough you’ll do, and they set your long-term maintenance calendar.
At 6 months
- Re-walk every exterior caulk joint, especially on south- and west-facing walls, and replace anything brittle or cracked.
- Check roof flashing and tie-in after any monsoon rain; look for active drips inside the addition.
- Run the HVAC temperature test again; if it’s drifted more than a few degrees, call for a rebalance.
- Inspect the exterior paint or siding; James Hardie siding holds up well but the joints between panels and trim expand, and that’s where caulk fails first.
- Check grading and drainage around the addition; any low spots holding water need fixing before winter rain.
At 12 months
- Full caulk replacement at exterior joints; by month 12, exterior caulk in Winchester’s sun often requires a refresh even if it looks fine.
- Full sealant check at every roofline tie-in, fascia, and wall penetration.
- HVAC balance check plus filter replacement and a professional duct inspection if you haven’t had one.
- Interior walkthrough for any recurring hairline crack that did not appear at 30 days; new cracks after the first year are more meaningful than early-settling ones.
- Submit any warranty items before the 365-day window closes, not at day 364.
The 12-month walk is the most important one, because after it, you move from “first-year maintenance” to “long-term maintenance” and your checklist shifts to an annual cadence. The difference: at 12 months, you’re identifying what the structure is telling you it needs, not fixing what’s still settling.
Common Mistakes to Avoid
- Skipping the 30-day inspection. Small caulk gaps and out-of-balance HVAC are cheapest to fix in month one. Wait until month six and the same problems can involve water damage and duct rework.
- Using the wrong caulk on exterior joints. Standard painter’s caulk fails fast in Winchester’s 110°F surface temperatures. Use 100% silicone on exterior joints and high-quality polyurethane where a paintable finish is required.
- Ignoring HVAC temperature drift. A room that runs 4°F warmer than the thermostat setpoint in July is telling you the balance is wrong. Left alone, it taxes the whole system and shortens its life.
- Climbing onto a steep roof to inspect a tie-in yourself. Fall injuries in Nevada are most common in summer months. Use binoculars or call a professional for height work.
- Submitting a warranty claim without photos or dates. The single most common reason a valid claim gets denied is lack of documentation showing what was noticed and when.
- Waiting until month 12 to read the warranty. Read it on signing day, note the claim process, and follow it to the letter when something goes wrong.
- Treating the “settling period” as a reason not to act. Some seasonal crack is normal; predictable water staining, failing caulk, and drifting temperatures are not.
When to Call a Professional

Call a professional for anything at height, anything involving water where you can’t see it, and anything electrical or HVAC beyond a filter change. Specifically, call us for: a roofline tie-in warning sign (lifted flashing, dark fascia streaks, ceiling staining), an HVAC system that cannot hold setpoint in the addition, active water intrusion, or a caulk joint that keeps failing after replacement. Also call before your 365-day mark if you haven’t had a proper full-year inspection; a professional walkthrough will find items you missed and time to submit a claim.
Our technicians have up to 20 years of experience, and every field visit is governed by the Threshold Standard: background-checked, identity-verified, uniformed technicians, with their name and photo sent before arrival. For home addition work in Winchester, our crew often walks first-year maintenance items and the original build together, so nothing is missed. Every written price is given before work starts, so you know the cost before anyone arrives.
Frequently Asked Questions
Inspect at 30 days, 90 days, 6 months, and 12 months after completion, then move to an annual cadence. In Winchester’s climate, the first year is the most active period because materials are still finding their limits across the extremes of summer heat and winter cold. The 30-day and 90-day walks are cheapest because small issues haven’t yet become structural.
Almost every written 365-day warranty ties coverage to reasonable maintenance, including checking exterior sealants and reporting issues promptly. Skip it and a claim on a failing joint or a water leak can be denied even if the original work was defective. Read your warranty document on signing day and keep a dated maintenance log.
Yes, plan on at least one full exterior caulk refresh in the first year, especially on south- and west-facing walls. Thermal expansion in Winchester opens exterior joints fast; a quality silicone or polyurethane sealant applied at month six or twelve often lasts longer than the original contractor-grade caulk did. Call our team at (844) 761-9367 if a joint keeps failing after replacement.
Set the thermostat to 75°F in summer and measure each room two hours later in the afternoon; every conditioned room should be within about 2°F of the setpoint, and the original house should feel the same as before the addition. If rooms drift more than 3°F or the original house is warmer than it used to be, the system needs rebalancing or its ducts need the airflow check.
Cracked or lifting caulk at the roof-to-wall transition, dark streaks on the fascia, and rusty nail heads near the tie-in are the earliest visible signs. Ceiling stains only appear after the leak has already traveled, sometimes for weeks. Check the tie-in at every inspection with binoculars or a ladder, and never walk a steep roof yourself.
Yes, we cover Winchester and the surrounding area, from first-year maintenance walks to full builds of detached ADUs or room additions. Every written price is given before work begins, and our field personnel are background-checked, identity-verified, uniformed, and photo-badged, with name and photo sent before arrival. Call (844) 761-9367 to schedule a free estimate, and we’ll walk your addition’s first-year status with you.
The Bottom Line
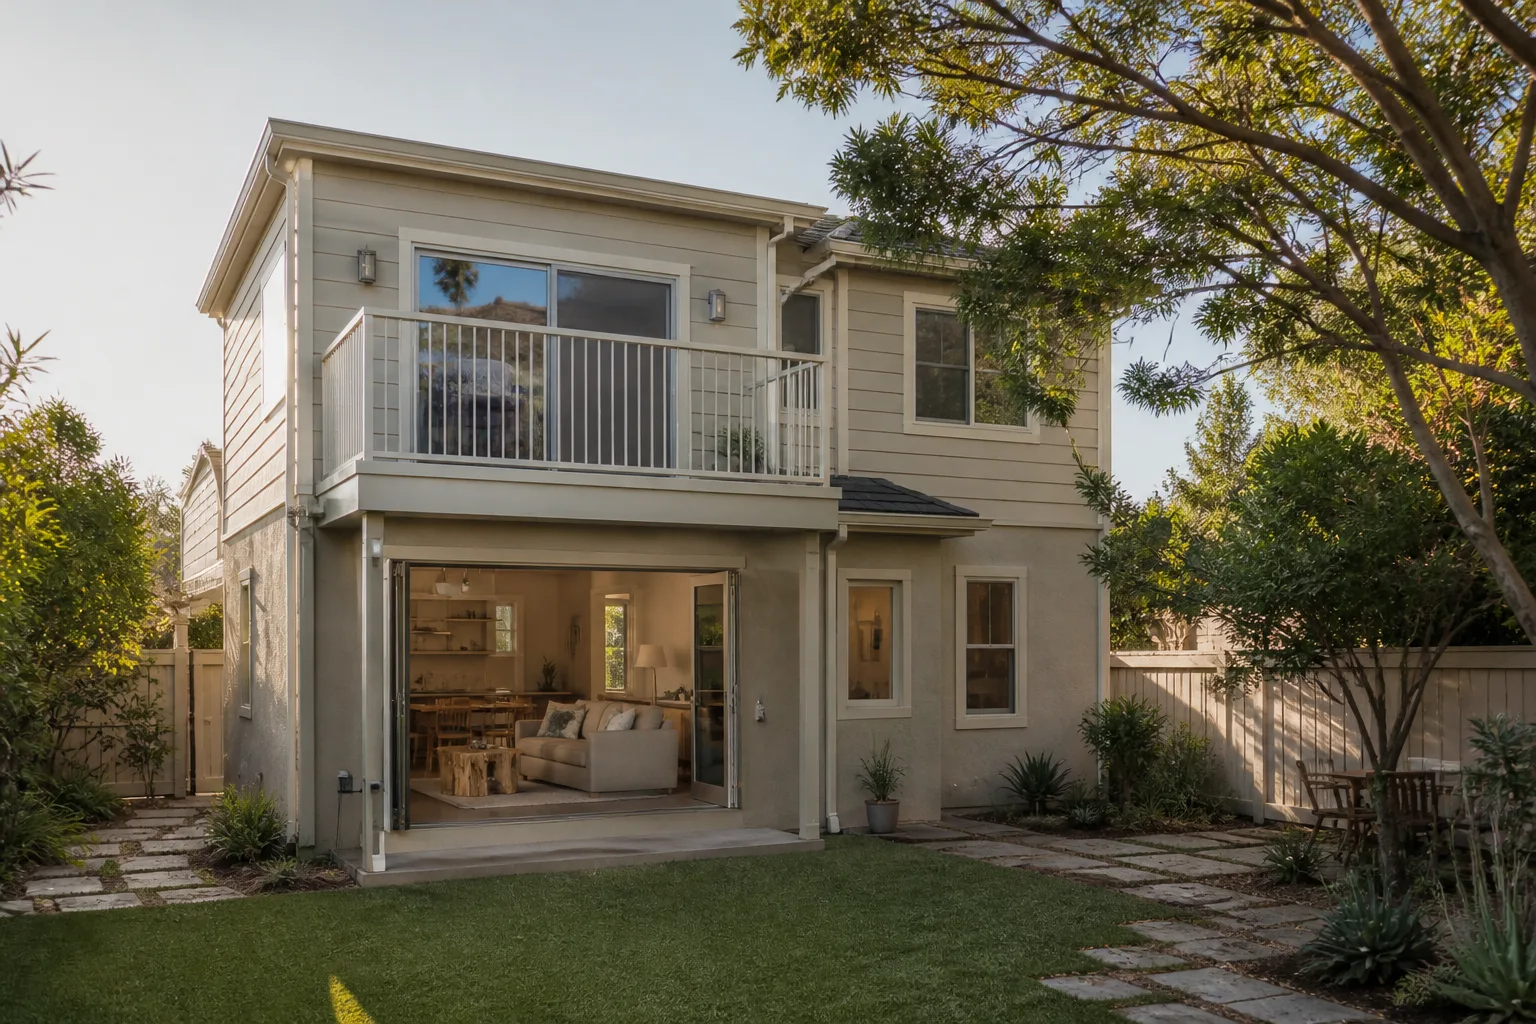
The first year after your addition is completed is the most important maintenance window you will ever have on that structure. Do four inspections (30 days, 90 days, 6 months, 12 months), check exterior caulk and roofline tie-ins every time, test the HVAC balance with a thermometer, and document everything with dated photos. Read the warranty on day one and follow its claim process to the letter. Our 365-Day Done Right Promise and the Threshold Verified standards exist to back that schedule: a written price before work starts, a full year of workmanship coverage, and a free second visit if any element fails. If you’re planning a build or want a professional walkthrough before your 365-day mark closes, call Sutton ADU Builders Winchester at (844) 761-9367 for a free estimate. You can also start at our Winchester home page to see how we approach every project.
Written by the team at Sutton ADU Builders Winchester.